Guide to Home Recording
by Emma Kramer-Rodger
So many of us have suddenly and unexpectedly found ourselves stuck at home. This has left a lot of performing musicians in a tough spot. It’s tough because so many musicians find themselves in different circumstances, but one thing we’re all trying to figure out is how to adapt. I have seen so many neat ways people are doing this, from live-stream together concerts to balcony performances.
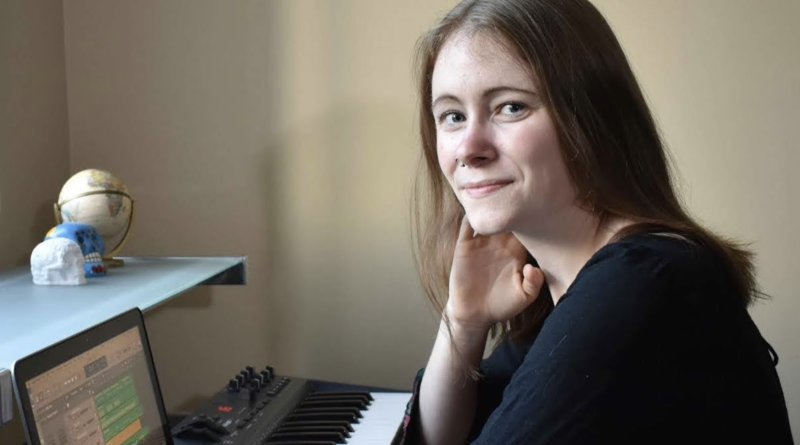
Another really neat way people have adapted is starting to record music from their homes if they are unable to get into a studio. This could be used for anything from recording tracks for someone else, or recording and mixing your full album. Now, if you’re not familiar with the technology, home recording can be a bit of a learning curve. But with the equipment available nowadays it’s actually surprisingly easy to get really good quality recordings right from your home. And as a bonus, it doesn’t even need to be that expensive, especially if you can find gear on sale or second hand. My setup is all second hand, it came in around 600$ and I have used it for years to record all my flute sessions and original music. I wanted to offer a run-through of some basic gear and how to use it to get started recording your flute tracks in your home studio.
A Computer
I’ll admit it - I’m a mac user so most of my tips will be based around using my MacBook, but you can really use any computer (or even a good tablet!). If you are opting to use a tablet, it will just be a little trickier making sure your microphone and software is all compatible. But honestly, as long as your device can run your DAW you’re good
Which brings me to my next point . . .
A Digital Audio Workstation (DAW)
This is the program you run on your computer to record and edit your audio. There are a ton of different options out there, all with different price points and capabilities. If you’re just looking to keep it simple there are options for that as well.
I use Logic Pro X, which is a mac specific program. The price point on this one is a little over 200$ but in my opinion you get so many features that it is more than worth it. Logic comes with so many editing, mixing and mastering features that if you want to take the time to learn everything, you can record and mix anything from start to finish. If you’re more interested in simply recording the tracks to send them off to someone else, then Logic Pro X gives you some good variety in recording settings, but there are a lot of other options as well.
Cubase and ProTools are two other options that come with various price points for professionals or hobbyists. Both of these programs work on either Windows or Mac. Each will work perfectly fine to record tracks, but also have a lot of extra features if you want to dig into those.
If you are looking for something cheaper or more in the range of free, then there are also options! These will come with a lot less extra features but will work perfectly fine for basic recordings.
Reaper has a free option for a limited time, and the first price point is only 60$. This one is also available for both Windows and Mac users.
Garageband is another one that comes to mind. This one is a mac exclusive so if you’ve already got an Apple product it might be your best bet. It is basically Logic Pro X light so it’s a good place to start if you’re not quite ready to shell out the money.
The final option is a totally free program called Audacity, that works on all computer types. Audacity has some extra features but mainly shines in just being a really solid audio recorder.
So there are a lot of options out there for DAWs, but it’s important to pick something that fits your needs and that you feel comfortable and confident using!
Headphones
As a musician, this is probably something you already own, but you want to make sure they are of good quality. You’ll probably want something that is over-ear and at least partially noise-canceling. This allows you to hear yourself as you play and record, but also listen back to what you’ve played.
A Microphone and Stand
A microphone is probably what you will want to invest the most money in, out of any of your equipment. Especially when recording flute, you want to make sure you use something that accurately captures the tone of the instrument. If your microphone isn’t good, no amount of post-editing will matter, your recording just won’t sound right.
For starters, steer clear of microphones that are meant for podcasting. These are great for capturing the human voice but will sound horrible when you try to capture the dynamic range of a flute.
What you’ll want to search for are studio condenser mics. This is not a brand, but a type of microphone. It is very versatile and can be used for many different purposes, including recording flute.
You will also want to add a pop filter to your microphone and make sure you have some sort of stand for it. A pop filter is important because it helps to reduce any type of spitting or breathing sounds from getting into your recordings and really just lets the music shine. It also helps to even out the high frequencies of your flute and prevents your recording from sounding thin or harsh.
There are so many types of microphones out there, so starting by finding ones that fit your price point. Then make sure you read the description and best uses for that microphone to really make sure it works for the type of music you want to record.
Audio Interface and XLR Cable
An audio interface is the piece of equipment that carries the sound from the microphone to the computer. You will use an XLR cable to connect your microphone to your audio interface, and a USB cable to connect the audio interface to the computer.
The interface also lets you control the input level when you are recording, and prevents your audio from becoming distorted, especially in the high register of the flute.
A really popular option for beginner interfaces is Scarlett from Focusrite. They’ve got a range of options and prices, and even a kit that comes with your microphone, cables, and headphones altogether.
The most important thing to check before buying any audio interface is that it is compatible with your computer and the DAW you are using.
A Quiet Room
Now this one is (hopefully) free, but also extremely important. If you’ve got background noise coming into your recording that really affects the quality. Now, this doesn’t mean you have to go through the trouble of completely sound-proofing an area of your home. But if you’ve got a place where you can limit family or street noise that can help you create a great final product. Make sure there is not too much echo in the room either. As flute players, we love the vibrant acoustics, but it is not always ideal for recording when there is mixing that needs to happen after. This can easily be reduced by hanging blankets on the walls or windows, bringing some pillows or blankets into the room, or putting a cloth on your music stand.
And that’s it! There you have it. A quick rundown of some gear you can use to start your own quality recordings right at home. Enjoy the freedom to record your own music and put it out into the world!
My name is Emma Kramer-Rodger. I have been playing flute for over half of my life, and over the past few years also started exploring audio production. I have a flute performance degree from the University of Regina and a flute performance ARCT from the Royal Conservatory of Canada. When I started pursuing more work in audio production I also studied music production for Film and Video Games through Berklee Online. I love exploring ways to record and release my own music and am happy to share that knowledge with others.
I am always happy to answer any audio tech questions.
Email: emma.kramerrodger@gmail.com
Website: emmakr.ca
Instagram.com/emberbelladonna